One of the original timber retaining walls near the Containers had started to fail when we purchased the property.
But now it is actually falling down… Time for a fix.
The timber making up the wall is rotted in places, bowed in others and generally in crappy condition.
To deal with this we are just going to tie is all together again and that should keep the wall intact until we are ready to replace it completely.
We excavated a bit of material behind the wall and tried to move the timbers back into their original position. Unfortunately these timbers were not secured in place originally. They were just dropped in behind a post and the containers.
The plan was to add strapping x 2 to each level of the wall and run it around to the front of the wall.
Then we would secure two new uprights on either side of the corner to secure the strapping in place and to ‘tie’ the timbers together.
Lastly we would top the wall with a cap that would help tie all the elements together.
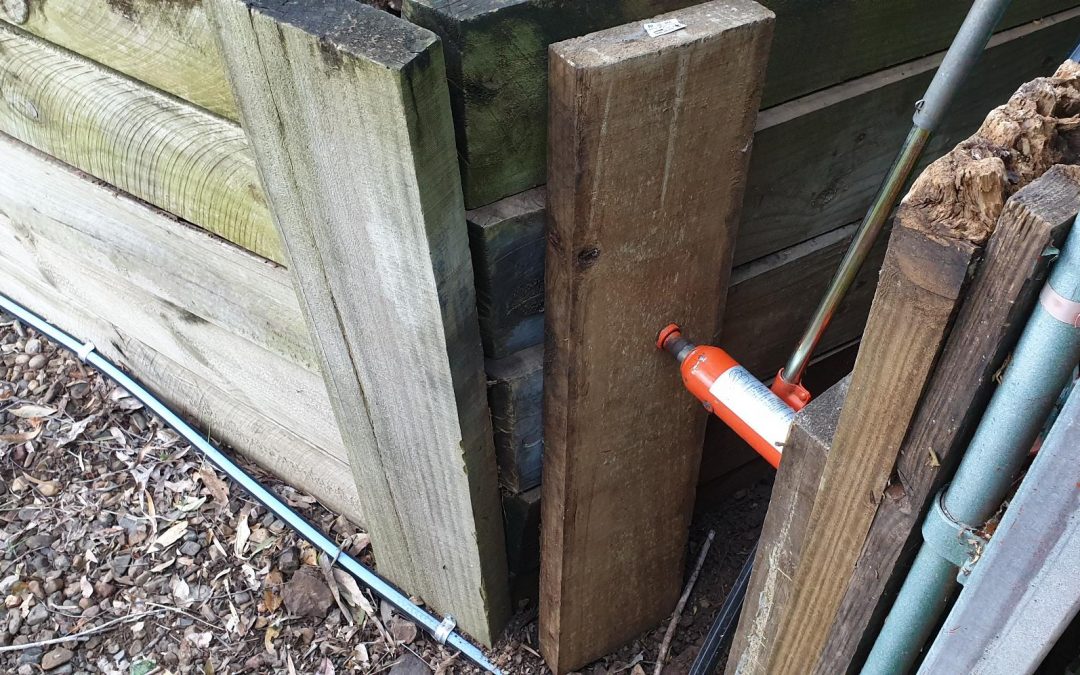
We had to see if we could move the original timbers back into position.
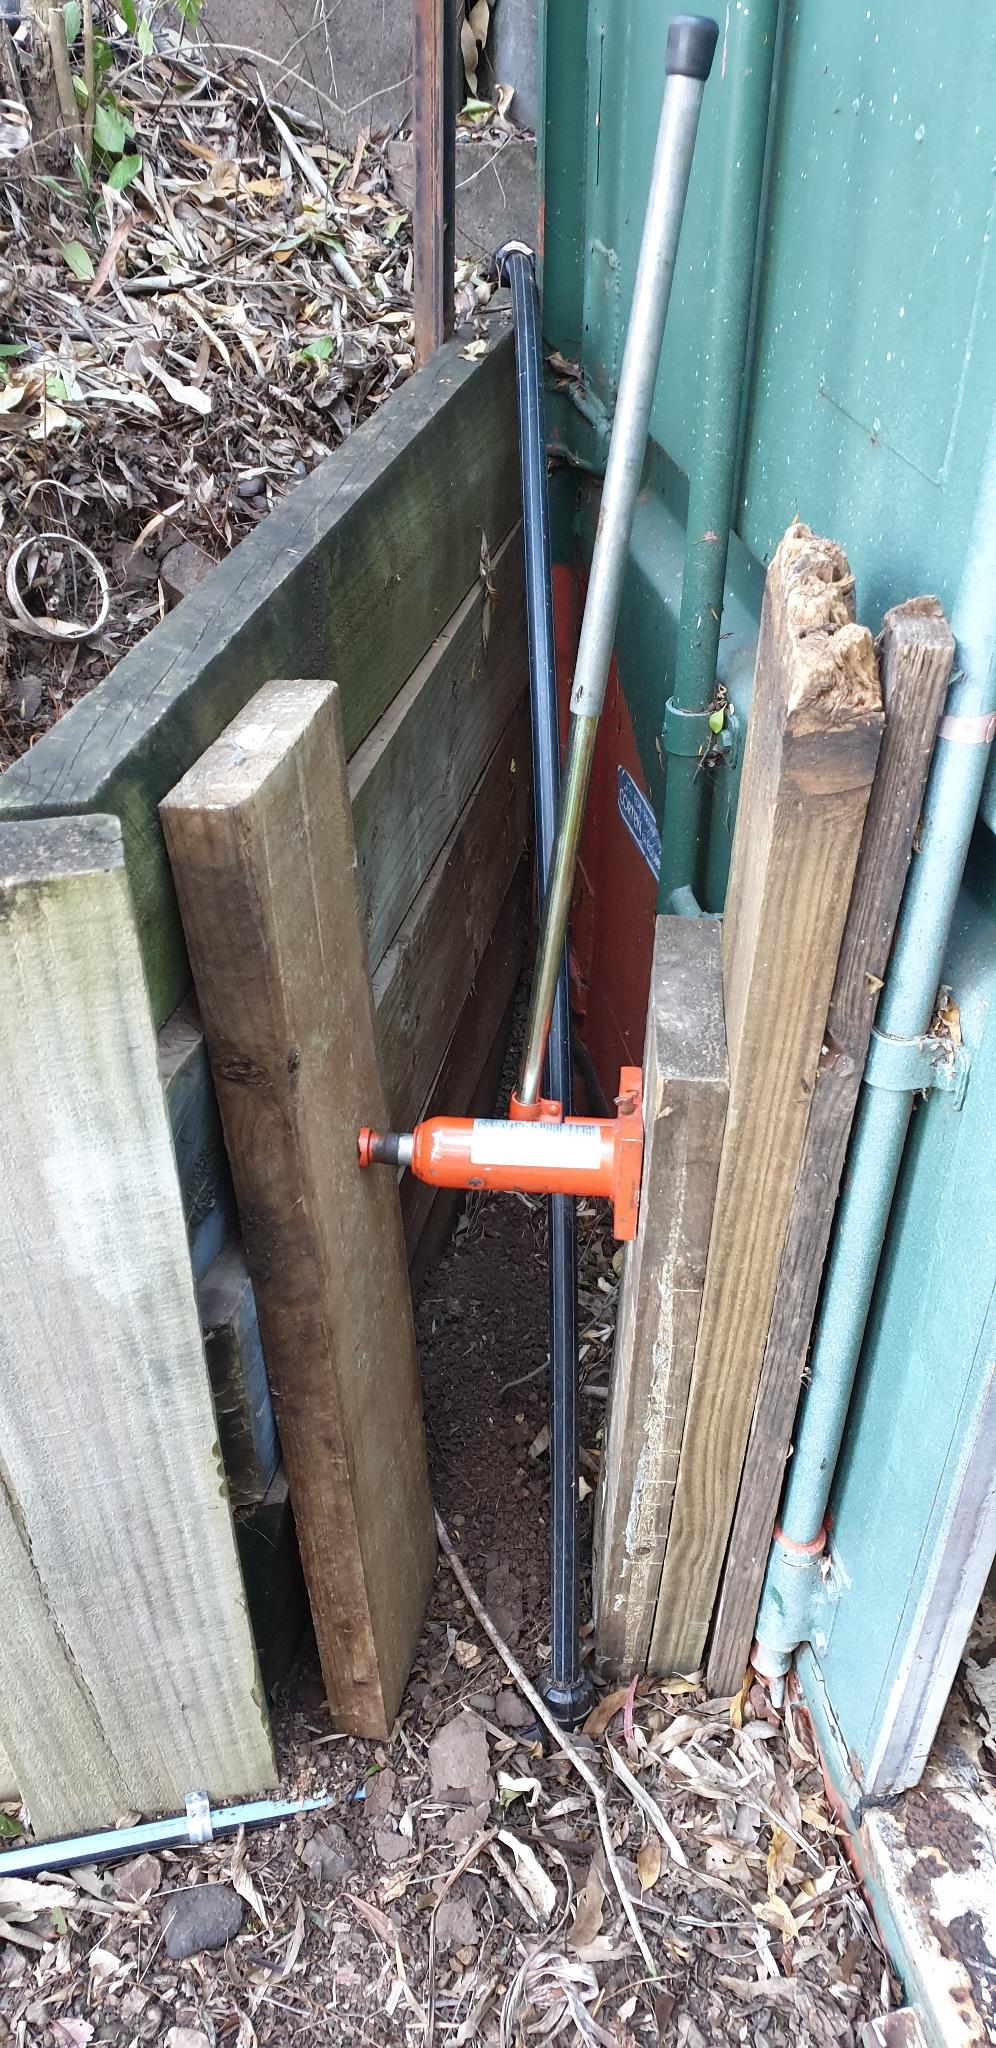
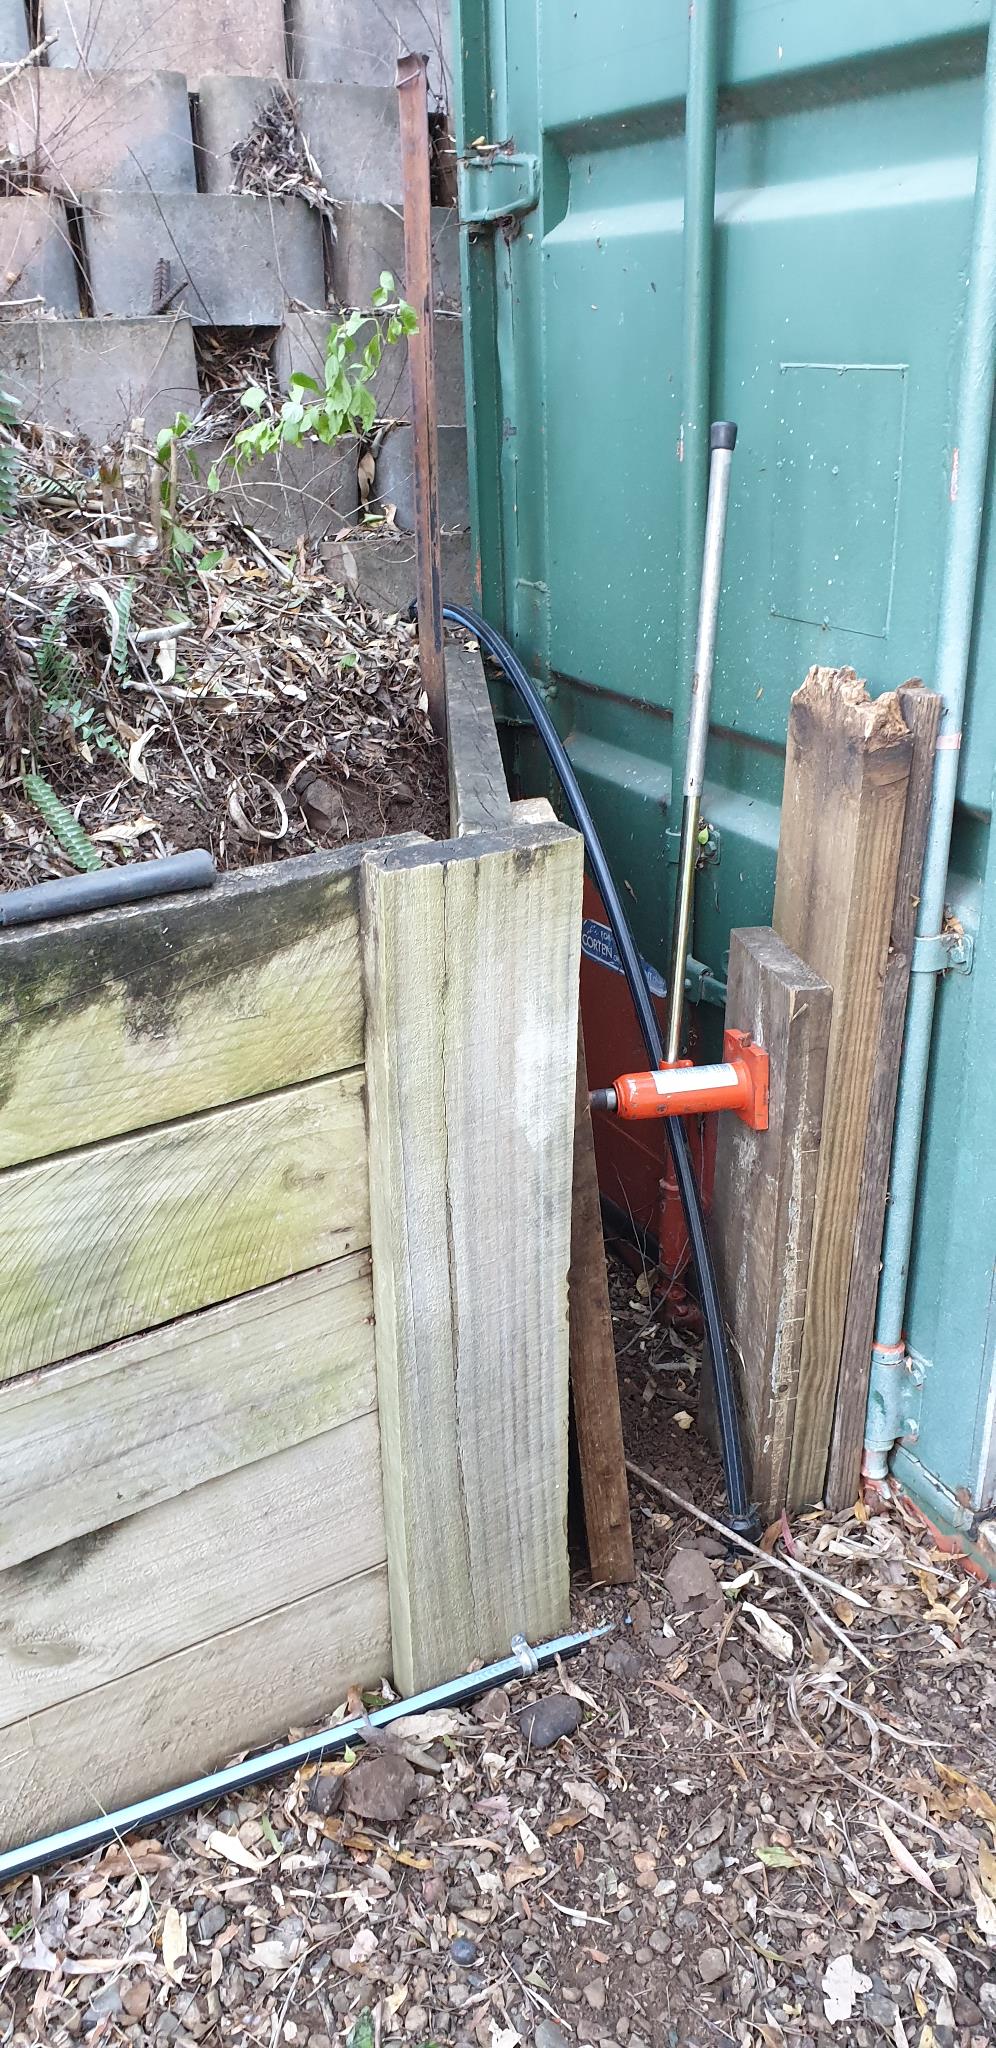
So we grabbed the car jack and a sleeper cut off and wedged them between the wall and the container.
The container weighs around 1800 kilos – so it should not move 🙂
We tested things a few times before we committed to securing the wall. The jack worked well and brought the timbers almost back into original alignment.
As things looked workable and feasible we went ahead and strapped the timbers in place.


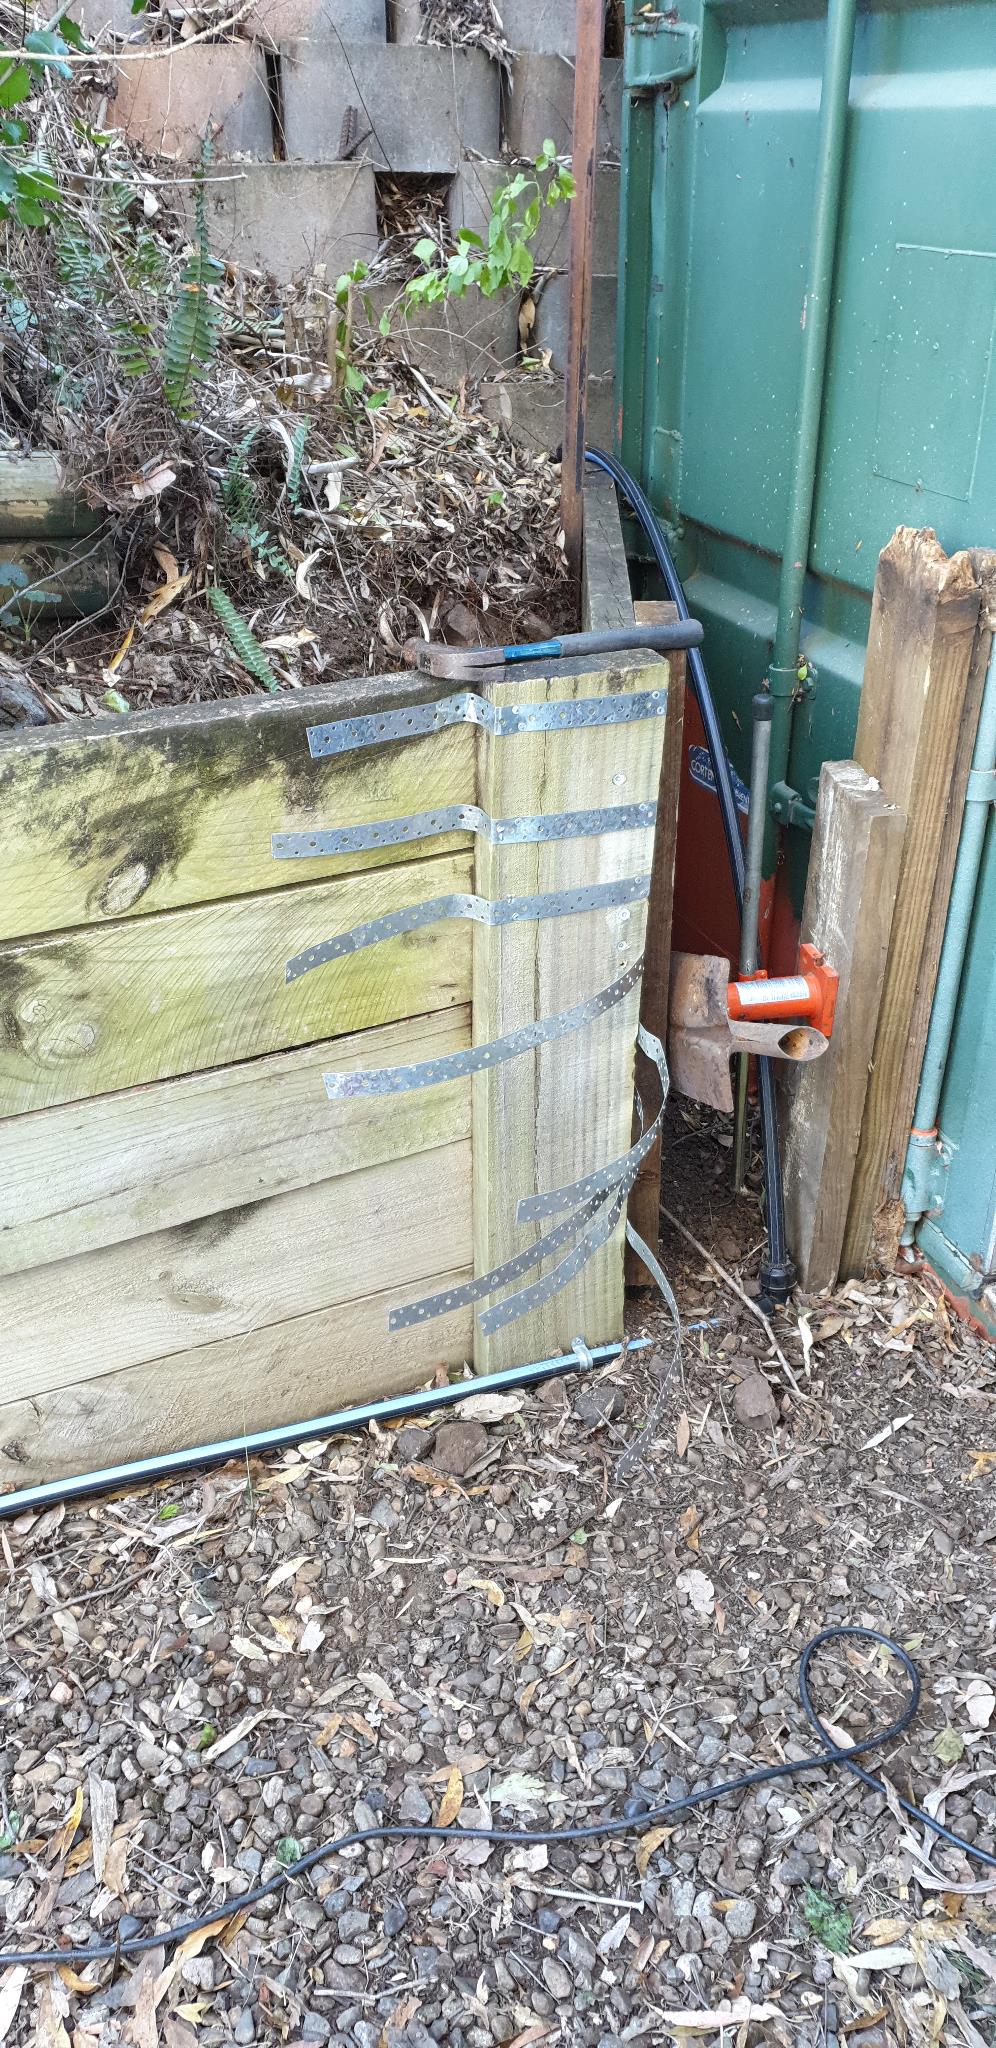
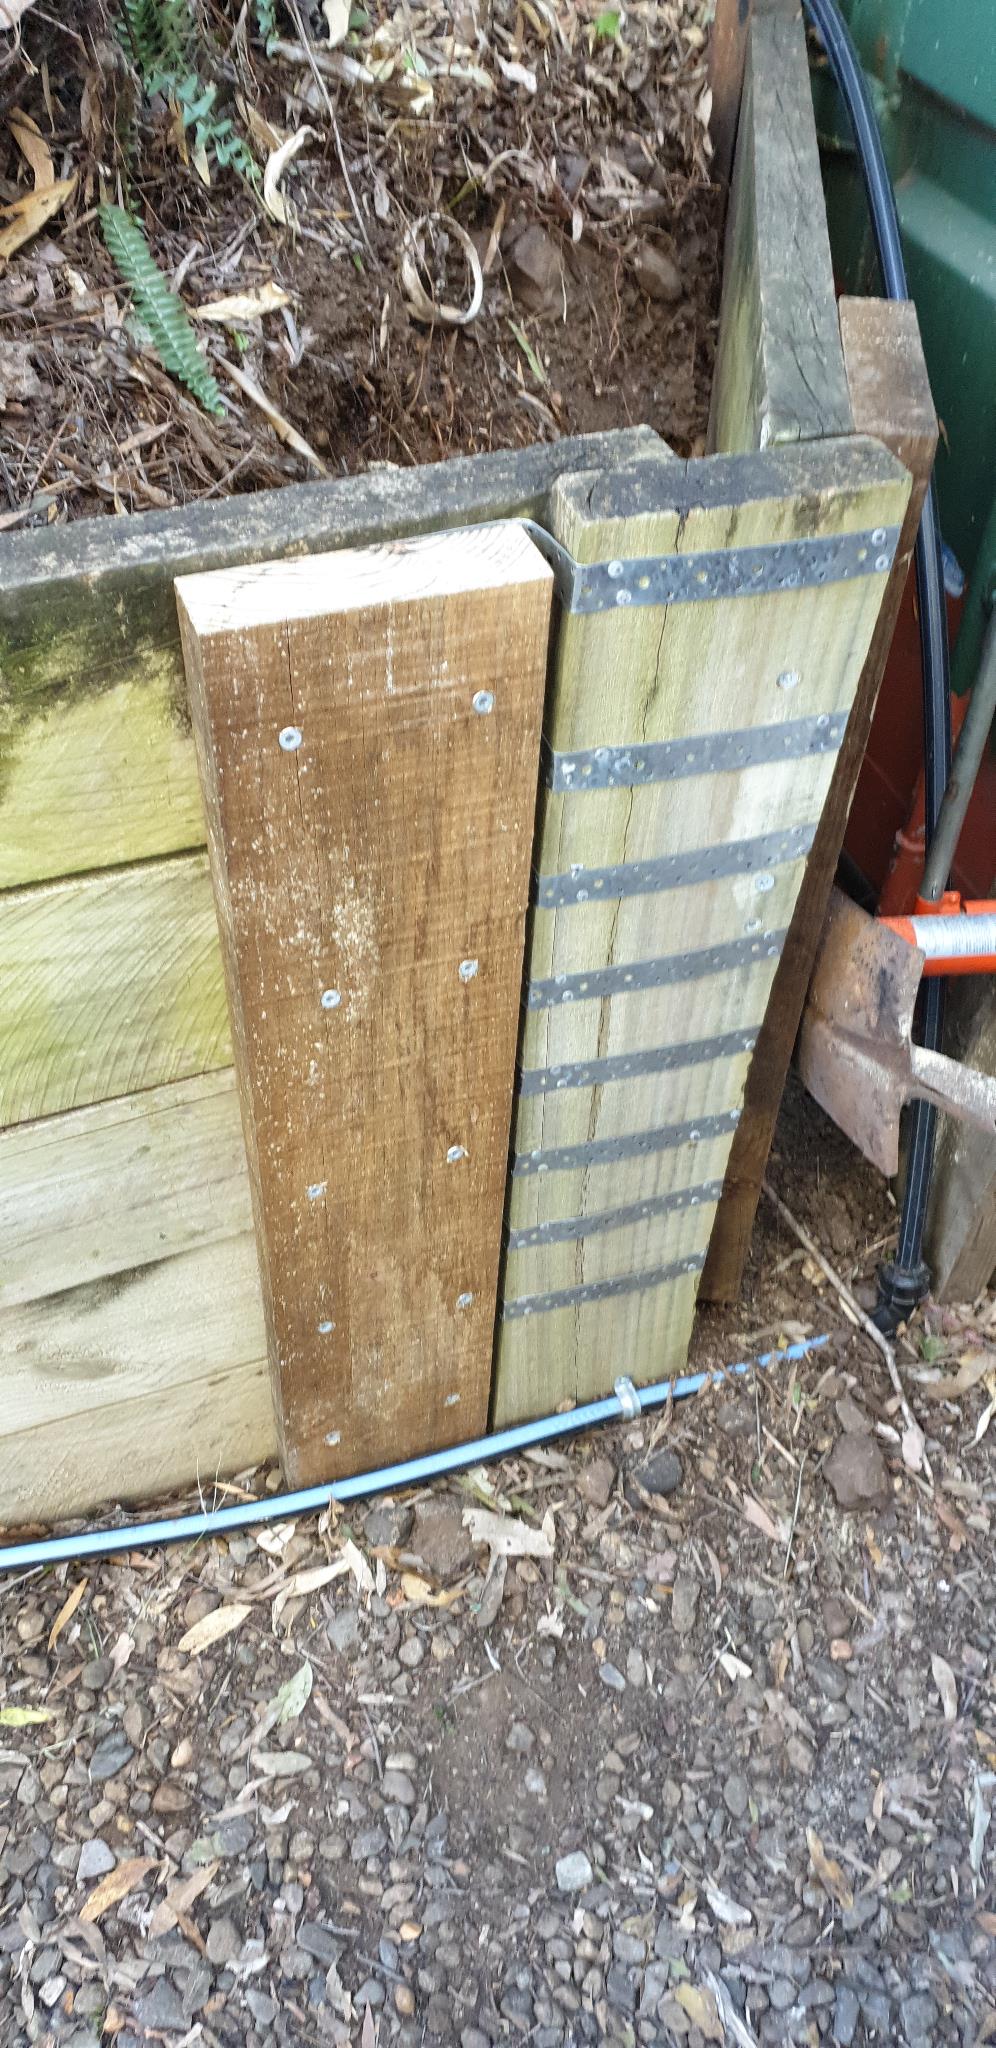
We added two straps to each piece of timber and then folded them around the corner post to be attached on the far side.
The straps were placed first, so that we could then hold them in place with a new piece of timber(sleeper) reinforcing the wall, while holding the straps in place.
The straps were approx 900mm long. All were secured with multiple clouts.
With the straps in place we couple replace our new timber and secure it to the original timber(batten screws).
Once in place and secured we jacked the new post back into position again and end screwed the original timbers.(This was NOT done in the original construction.)
Leaving the jack in place we went on and secured the strapping around the corner post. Once again securing with clouts in many places.
Everything was left jacked and secured as we moved on to the other new post.
The outer ends of the strapping were secured around the corner post and along the front of the wall.
We trimmed the ends to keep it sort of neat.
The second new post was positioned, clamped and secured with batten screws at all levels. Again this post was placed over the strapping to help secure it.
Unfortunately the top of the wall did not end up level in any way.
So we added the sleeper cap to the wall as best we could. All elements were screwed together and cross-screwed
With that in place, we went back and finished securing the first new post with batten screws in all levels.
Then it was time to release the jack!
All went well and both the container door and the wall moved a little….. but the wall stayed in place and appeared to be solid and secure.
The wall is definitely stronger than it was before, but it going to have to be replaced at some stage.
But I think we have done enough to get a another good 10 years out of it.


Dave
Latest posts by Dave (see all)
- Webbing Caterpillars on Native Trees - April 28, 2022
- Easter Weeds – Easter Cassia - April 17, 2022
- Life goes on – 10 April 2021 - April 10, 2021
Recent Comments