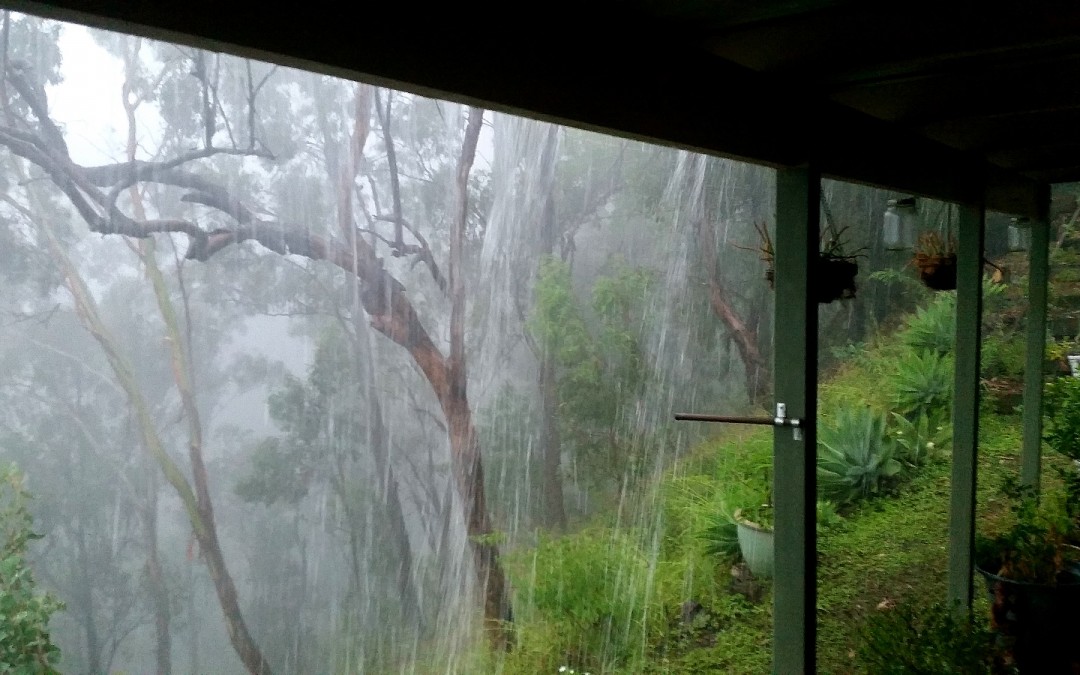
Erosion is one of the big three issues that we have to deal with here at Arborlon. So we have been addressing one of the issues that leads to the above image.
It is a problem I have seen in every house I have lived in in Queensland. Poor storm water control – in this case gutter overflow, during significant rain.
The issue? Inadequate downpipes for the area of roof being drained.
Our deck roof is 16.0 x 4.0m, and that is approximately 64m2, and for that the current drainage system has ONE 90mm downpipe. Additionally, one half of the main roof also drains onto the deck roof… seriously increasing the size of the catchment area.
Considering this is South East Queensland, and we are in the coastal mountain ranges, next to a large rainforest, we could safely assume that ONE down pipe is not going to be enough. And it isn’t.
The ground below the deck gutter is severely eroded and almost devoid of topsoil, and the main reason for this is gutter overflow, flooding and storm water run-off.
Today we took another step in fixing this problem. Installing two new 90mm downpipes, feeding to a 100mm stormwater drain that traverses the > 35 m to our main water tank. Sounds like a big job, and it is.
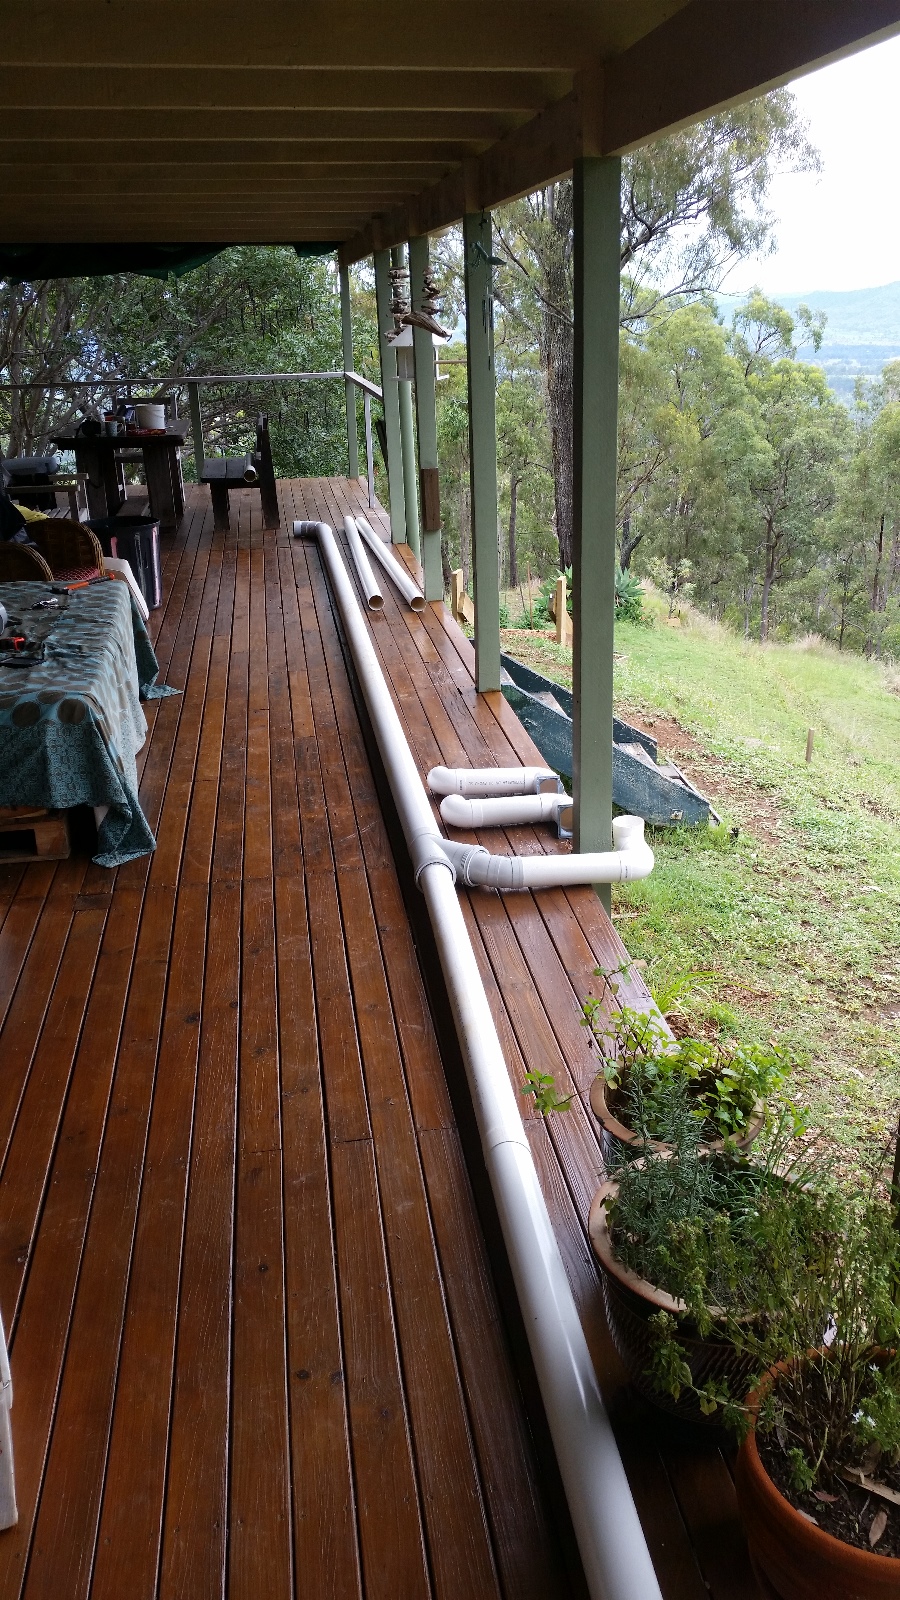
There are some technical bits to be completed(attaching to gutter), but the majority of the pipe work is now done. Two new downpipes, joining a 100mm storm water pipe running to the tank.
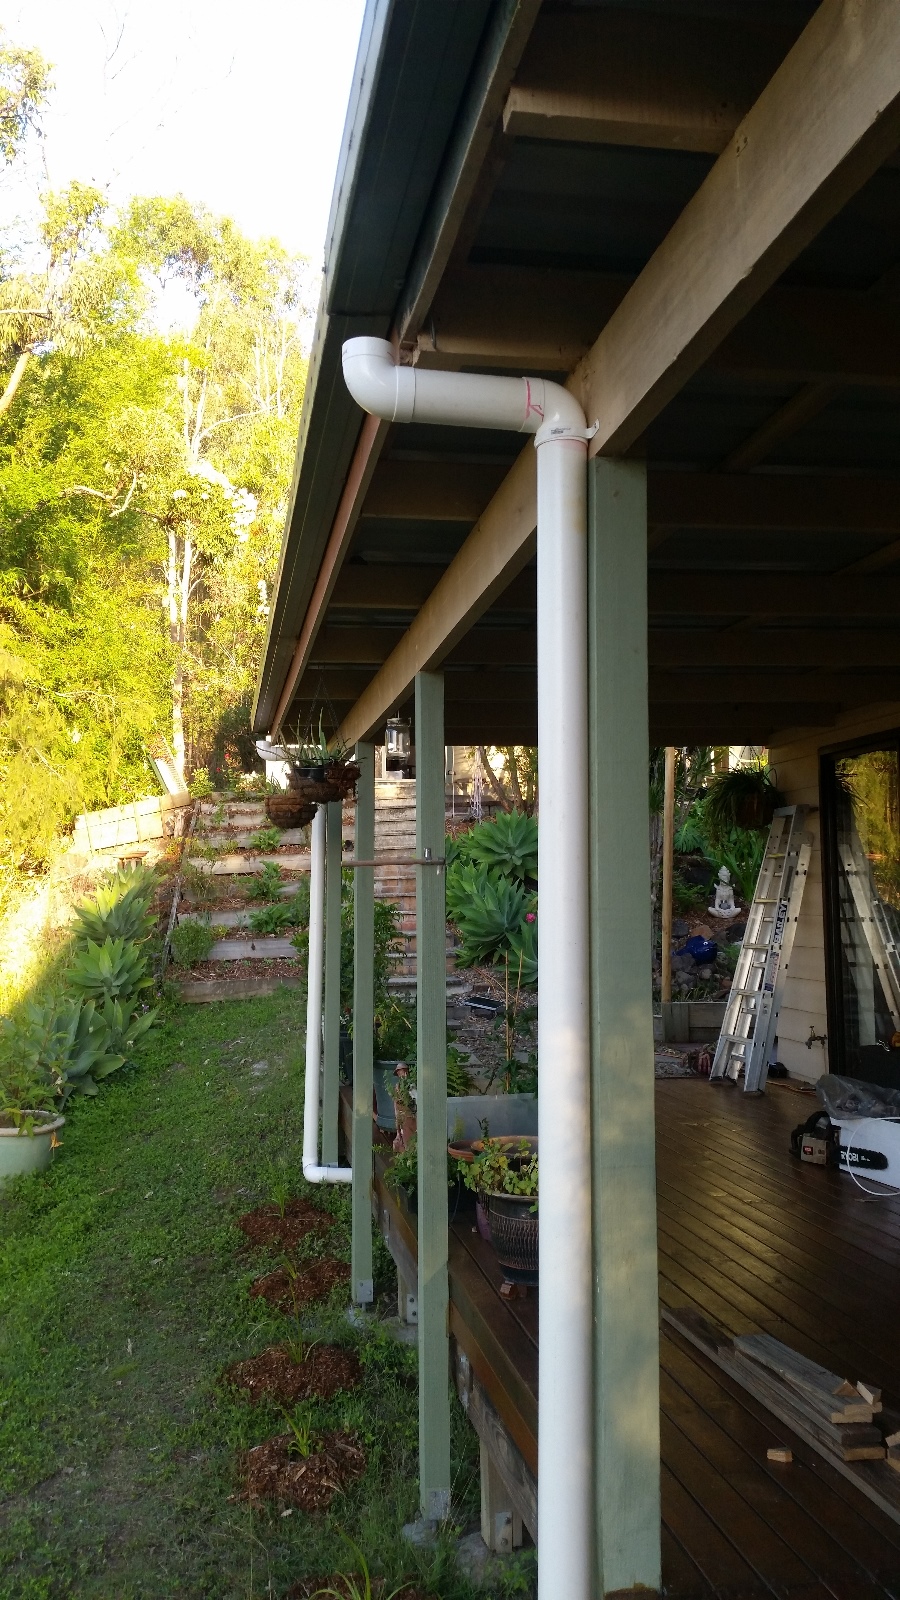
The downpipes come off the gutter and then run under the house.
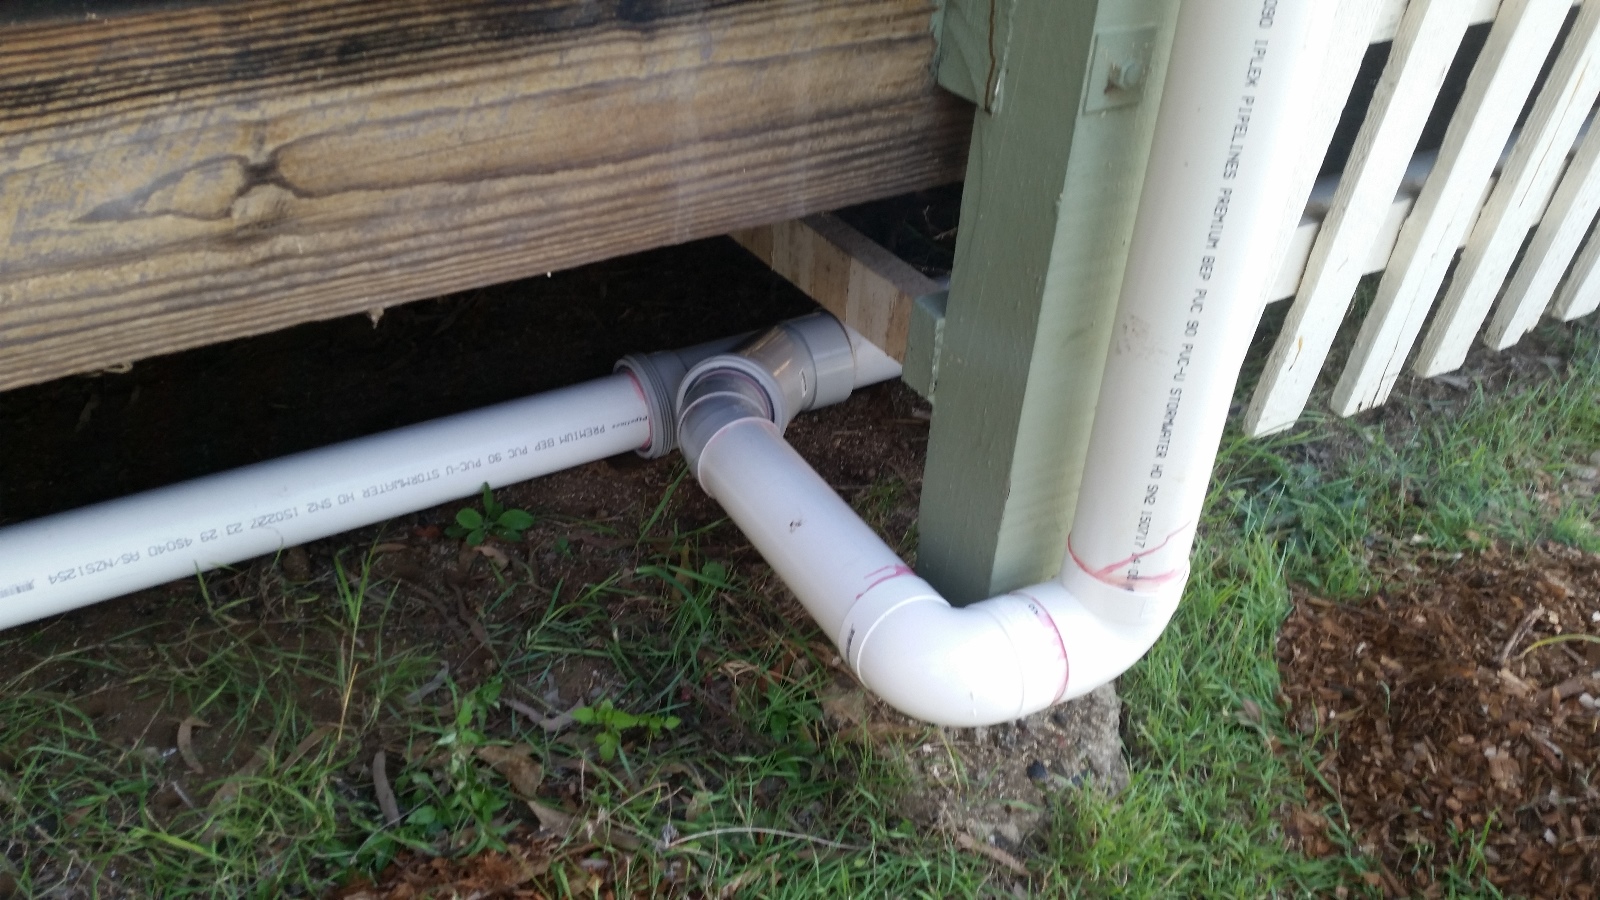
I ran the new 90mm pipes into a 100mm to ensure that the volume of water we catch can be handled and transported. You can see above where the 90mm pipes intersect and join the 100mm pipe. I brought the second downpipe in on a 450 angle to ensure that flow was not interrupted.
The 100mm pipe runs the rest of the length of the house and then turns further under the house to get to the tank side.
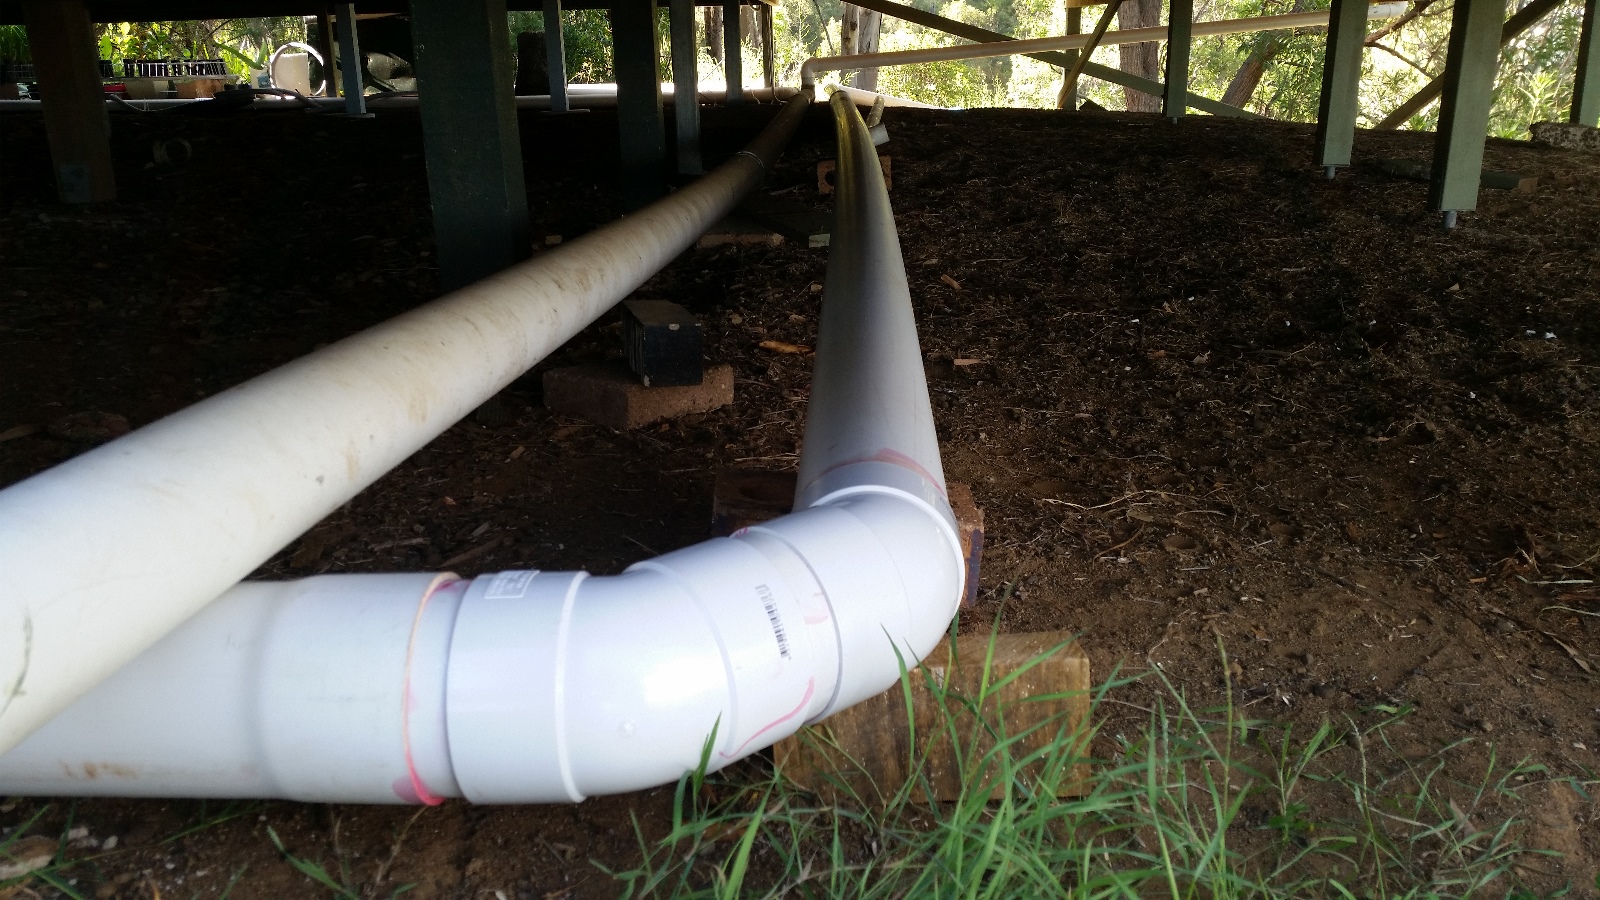
Here(above) it turns under the house, and again I used 450 elbows to make sure that flow was as unimpeded as possible.
Once the pipes reach the tank side of the house they turn again(450) down towards the tank, then it runs across the back pathway and down to the tank…. another 10+ metres.
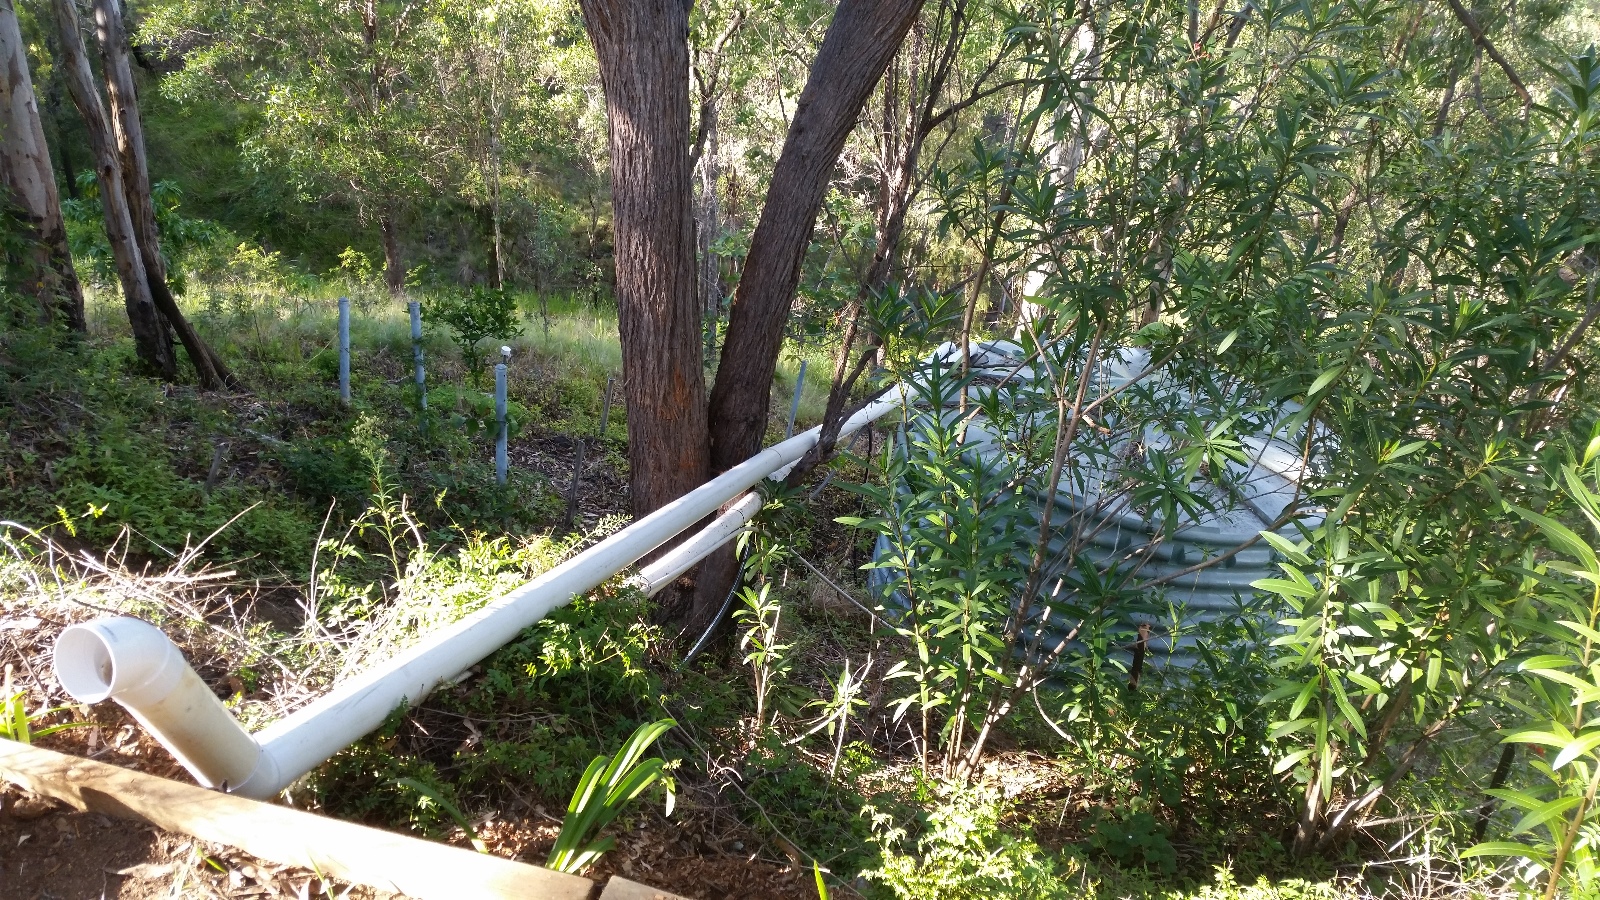
The inflow has a 900 turn on it to make sure that the flow of the water is slowed a little before entering the tank basket. Installing this pipe has also allowed us to upgrade the tank inflow basket and put in place a UV blocking cover at the inlet point.
While it all looks a little ‘patchwork’ on the tank side, we have no choice. Decisions by the previous owners in regards to pipe layout and tank position have restricted what we can do. The main tank site below the house and is poorly positioned, poorly supported and already on a downward angle of about 120. Restrictions of access to the tank level make it impossible for us to install a new large tank in the same or similar position.
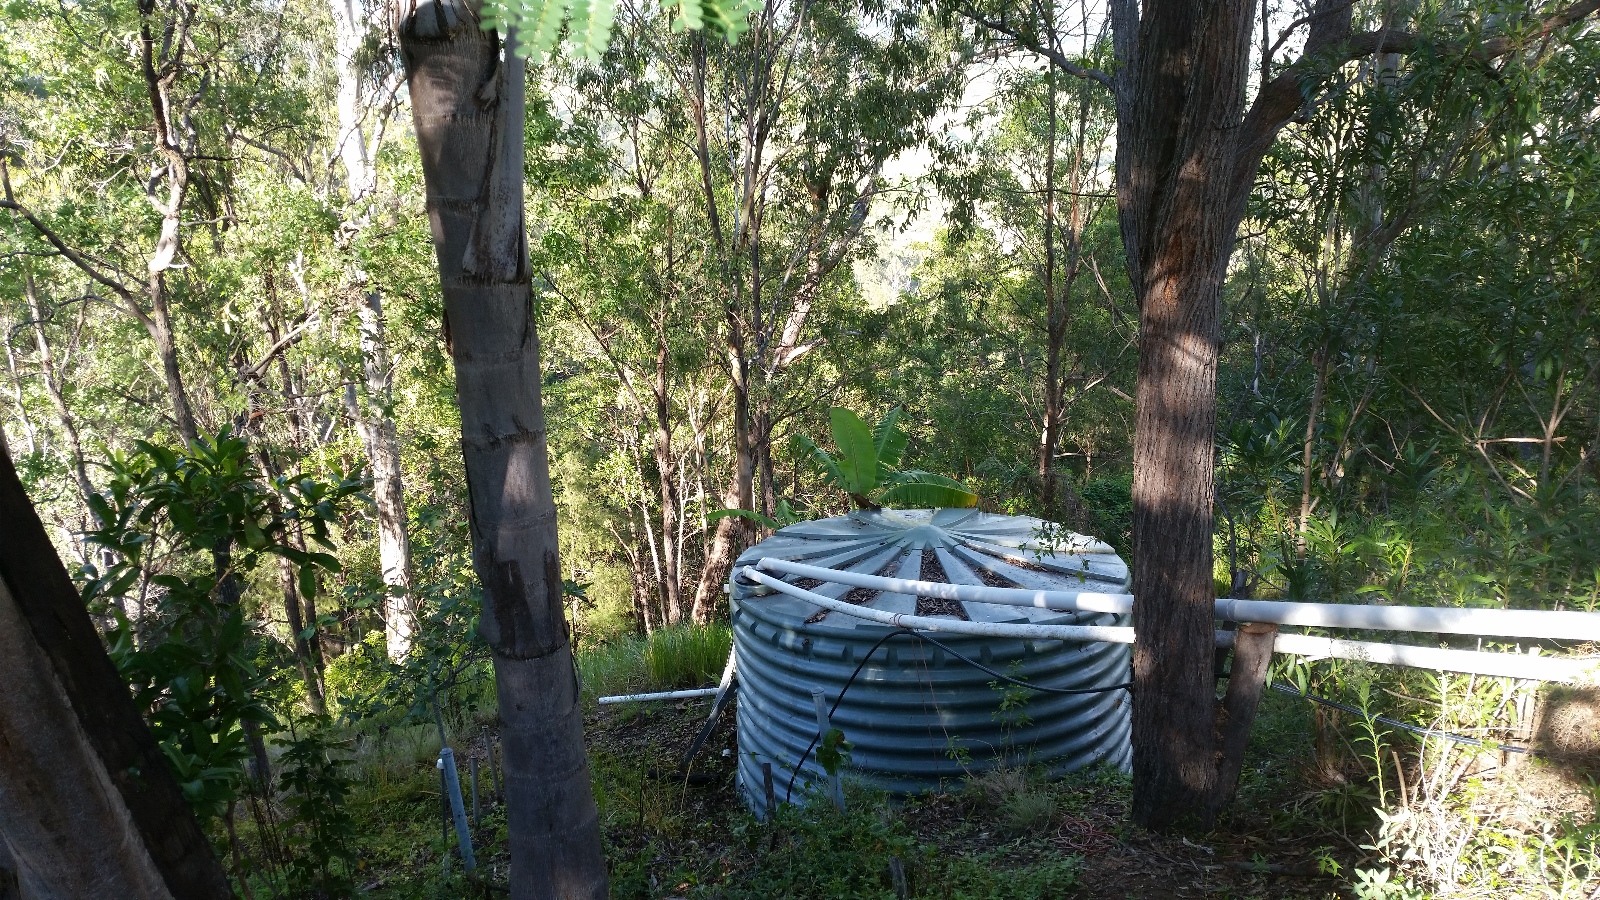
The pipework runs across a path/garden, and through the tree(see above) to the tank. We are restricted here by the poor condition of the earth bank, the positioning of the tank, the tank outlet and the pump. So… like I said, we have no choice – at least in the short term.
In the photo above you can also see the ‘jerry-rigged’ tank overflow outlet behind the tank. We are going to have to improve and increase that pipework as well, as the intended consequences of all this work is to catch more water… leading to greater inflows into the main tank… and therefore greater outflows via the overflow.
As mentioned we get significant rain over Summer and it can arrive in big hits. In recent weeks we have had over 150mm of rain in < 7 days, and it is not uncommon to have 50-100mm arrive in 1-2 hours. So this is just one part of the overall management of water and it’s flows on our property.
There is lots more to do.
Dave
Latest posts by Dave (see all)
- Webbing Caterpillars on Native Trees - April 28, 2022
- Easter Weeds – Easter Cassia - April 17, 2022
- Life goes on – 10 April 2021 - April 10, 2021
Recent Comments