Today we built another gabion water habitat. This is now our 8th Water habitat we have across the property.
We build these to supply the local birds and wildlife with an easy source of water. Things are dry here at the moment and we were recently drought-declared.
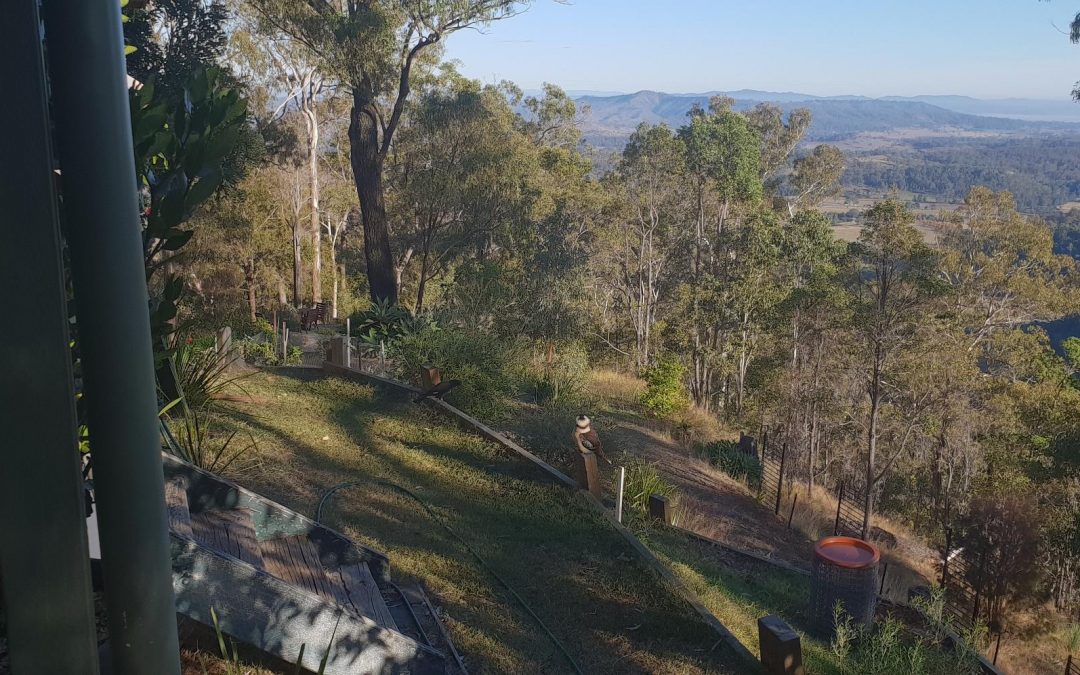
This water habitat is another gabion base with a terracotta bird bath. We have 2 others like this, one in the back yard, and one on the other end of the front terraces.
They are relatively easy to construct and we had all of the materials already. If you don’t have the materials.. they should not be hard to find or purchase.
What you need is:
- Some steel mesh of sufficient size to make your gabion.
- Some strong fencing wire.
- Outer rocks – These are decorative rocks that will form the outside of the gabion.
- Filler Rocks – These are junk rocks that are used to fill the central space of the gabion.
The gabion can be in any form you like, but we have done multiple cylidrical gabions as that was the mesh we had available.


First step is to make the form of your gabion with the steel mesh. For this gabion a simple circle of mesh made the form. The ends of the mesh are twisted together and then reinforced with strong fencing wire twisted along the join.
The gabion basket is then placed in it’s position and leveled. make sure your base is strong and reinforced if necessary. The wight of the basket and rocks will be significant.
Then we placed the first level of Outer Rocks in a circle at the bottom of the mesh. Leave the centre clear.
The centre space is then filled with Filler Rocks. These can be any rocks you like, but should be solid and not decaying rocks. These Filler Rocks will support the Outer Rocks.
The Outer Rocks will often need to be placed by hand, as you want these to look as good as possible. Make sure rocks fit neatly and minimise the gaps.
What we do is add a circle of Outer Rocks and secure them in place with larger Filler Rocks. Then go around the Filler Rocks and place any extra Outer Rocks you need to fill holes.
Repeat this process until the gabion basket is almost full.
On the top level we always use small Outer Rocks. This gives you some flexibility when placing the bath on top.
Leave some space in the top of the gabion to allow the bath to sit ‘inside’ the gabion. This will stop animals and birds dislodging the bath.
We use lots of different dishes in water habitats on the property but in more permanent constructions we spend a few bucks on a Terracotta bird bath dish – as we have here.
Some Tips:
- You will need more rocks than you think.
- Make sure you use nice big filler rocks…. this means less rocks to carry and place.
- Make sure your Outer Rocks are big enough not to slip through your gabion mesh.
So… go and have a go. And let us know if you do something remarkable 🙂


Dave
Latest posts by Dave (see all)
- Webbing Caterpillars on Native Trees - April 28, 2022
- Easter Weeds – Easter Cassia - April 17, 2022
- Life goes on – 10 April 2021 - April 10, 2021
Recent Comments